Customize nhyris
R Packages
nhyris automatically detects R packages and their dependencies in every R file within the shiny directory.
library(PKGNAME)
require(PKGNAME)
If these R packages are available on CRAN and can be installed with install.packages, nhyris will handle their installation.
Using R Packages from GitHub
nhyris uses pak to install R packages.
- To install CRAN packages:
pak::pak("ggplot2")- To install GitHub packages, use the
OWNER/REPOformat (e.g.,jcheng5/googleCharts):
pak::pak("jcheng5/googleCharts")To specify GitHub packages for nhyris, follow these steps:
- Add the required package information to the
pak-pkgs.Rfile in your project:
github_pkgs <- c(
    "jcheng5/googleCharts",
    ...
)- Run the following command:
nhyris update PROJECTThis will install the specified GitHub R packages.
Using R Packages from Bioconductor
To specify Bioconductor packages for nhyris, follow these steps:
- Add the required package information to the
pak-pkgs.Rfile in your project:
bioconductor_pkgs <- c(
    "AnnotationDbi",
    ...
)- Run the following command:
nhyris update PROJECTIcon
nhyris uses its logo as the icon for the Electron application.
Icon File Location
The icon image file must exist in each project.
For example, in a project named myapp, the file myapp/icon.png will be used as the Electron application’s icon in the out directory.
The template includes three example image files: icon.png, icon.icns, and icon.ico.
These files are essentially the same image, just copied and renamed.
On macOS, all of png, icns, and ico formats are supported.
However, according to the official Electron Forge guide, it is recommended to use: - icns for macOS - ico for Windows - png for Linux
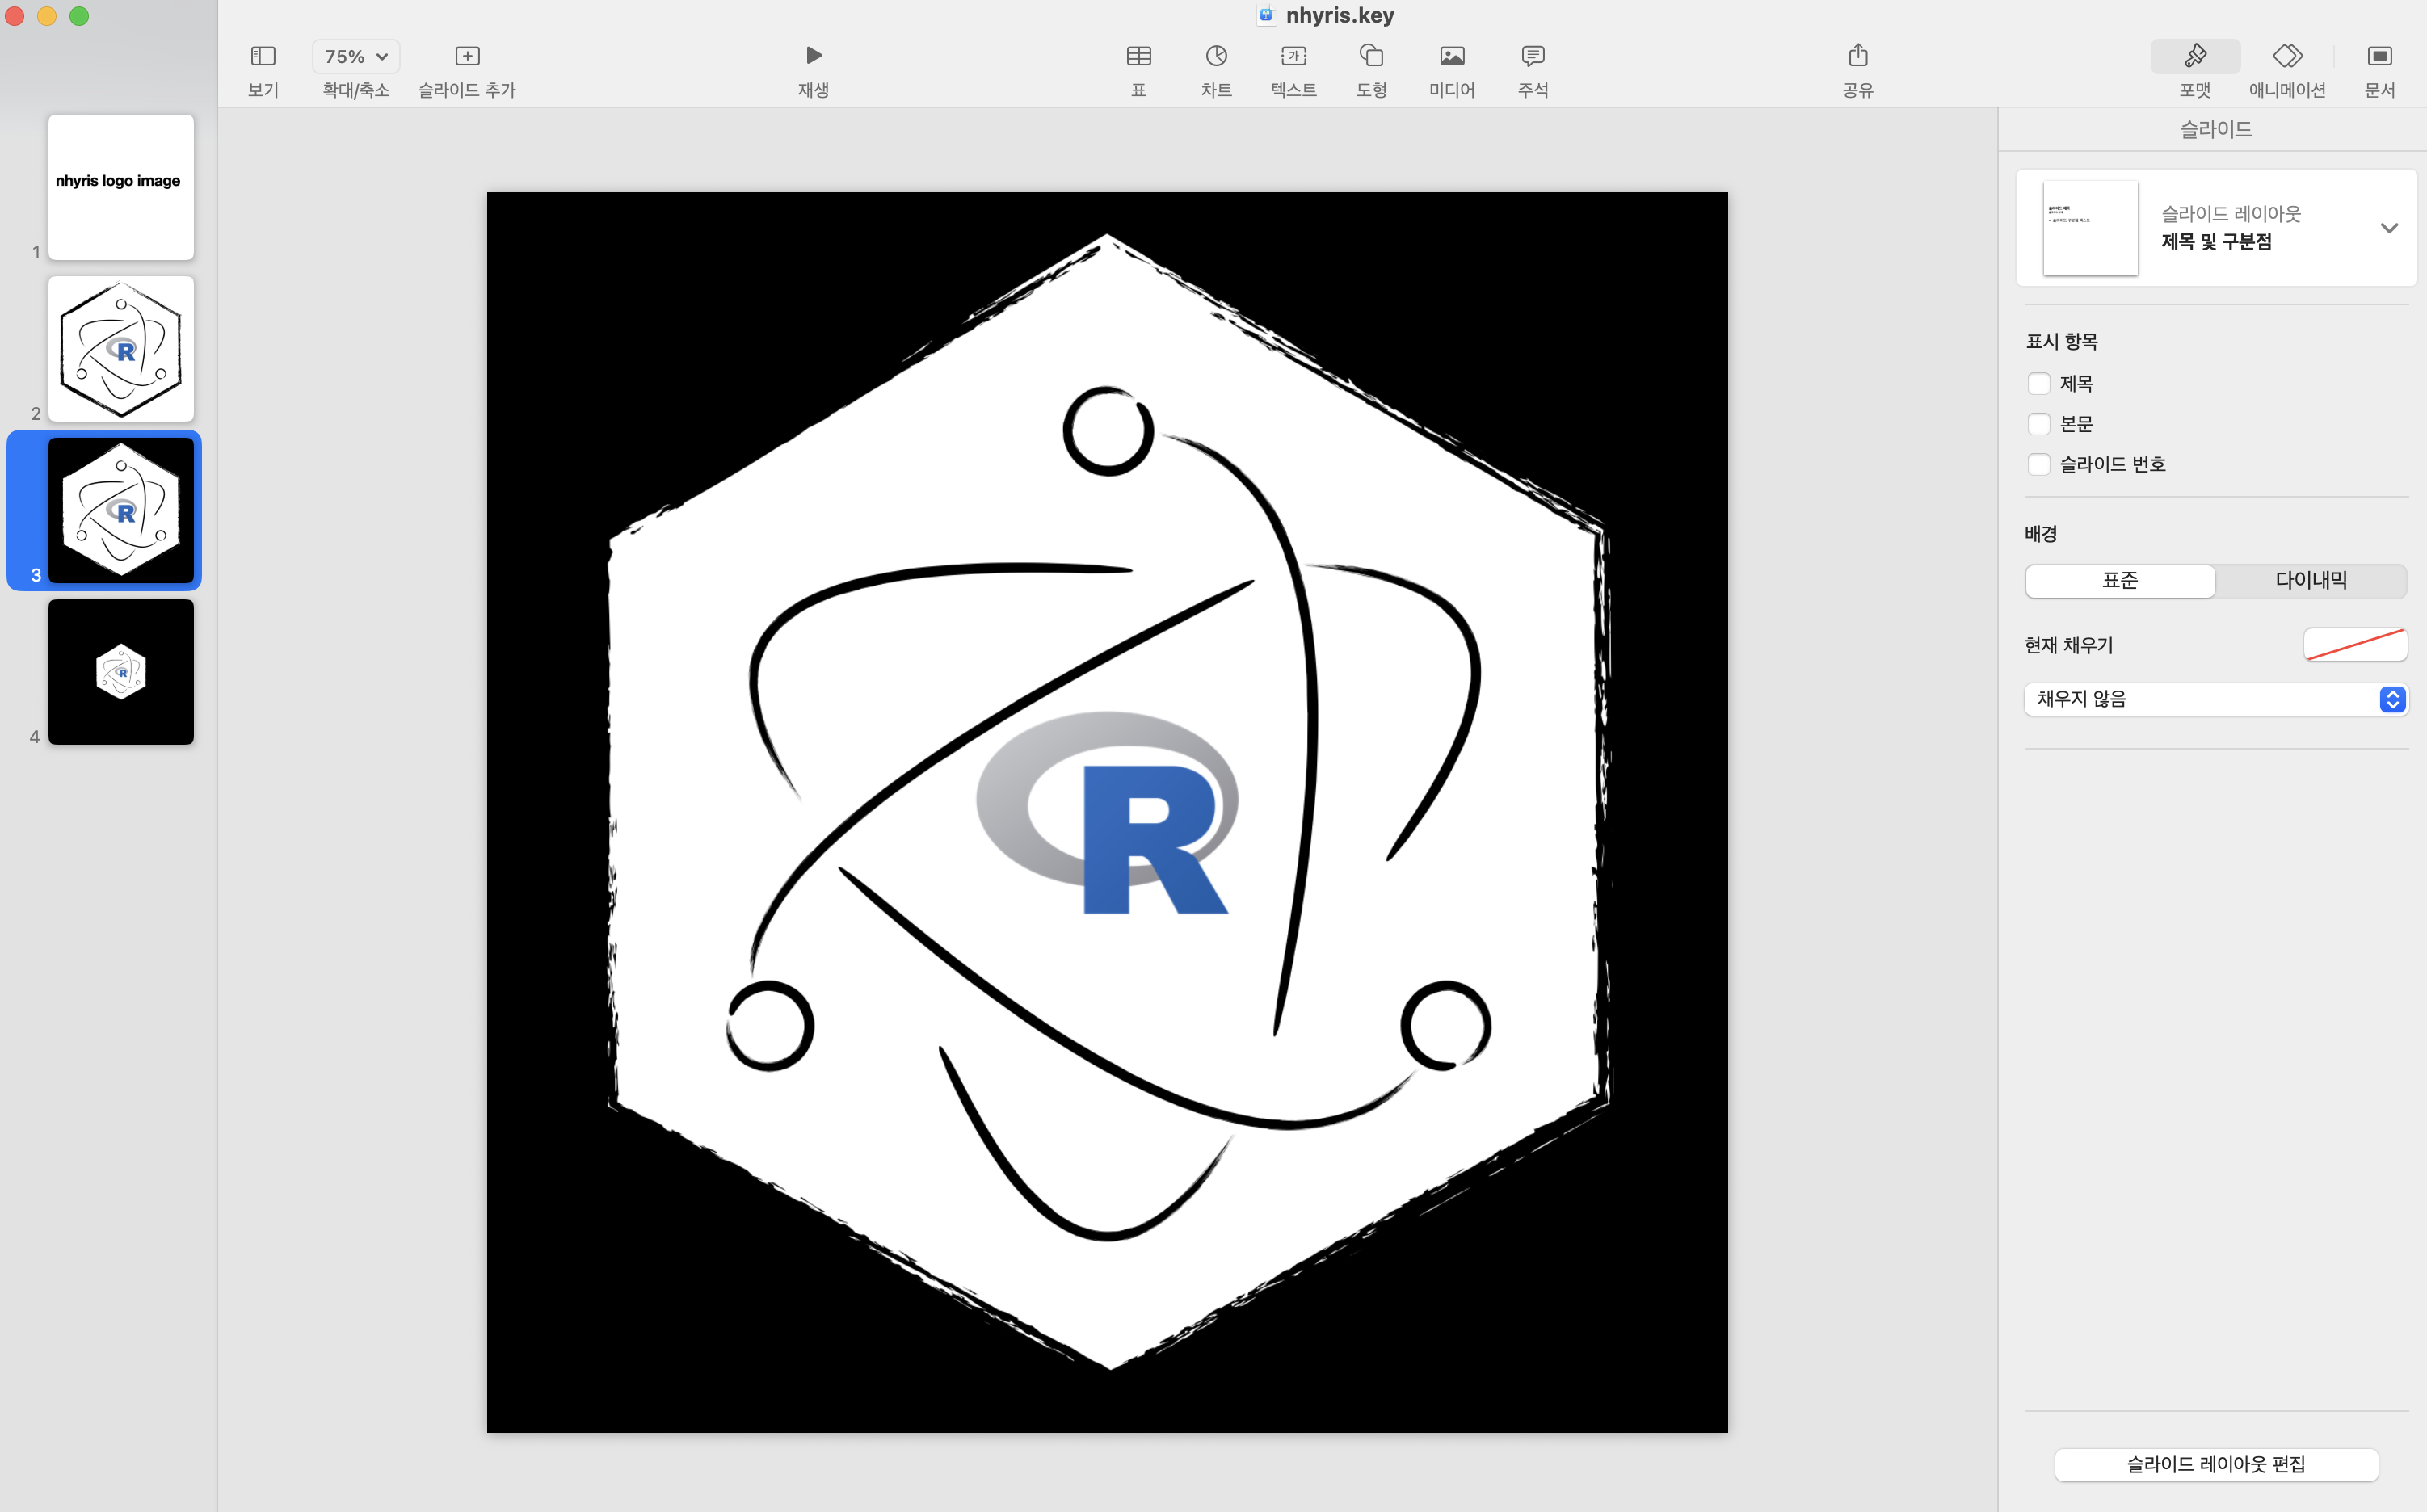
Creating a Custom Icon
To create a custom icon on macOS, you can use the nhyris.key template file provided in the repository.
- Edit the image as desired.
- Export the relevant page as a
pngimage.
squirrel.windows
nhyris provides a feature for building a Windows executable installer using squirrel.windows.
To build the installer, use the following command:
nhyris build -m squirrelYou can see an example result here.
For more details for squirrel.windows, see the NuGet Package Metadata documentation.
Metadata Configuration
In nhyris, you can modify the squirrelMakerConfig object inside the handleSquirrelMaker function in maker.js.
Before using this code, you must build the project first.
Example for setting the installer icon and URL:
config: {
    setupIcon: "assets/setupIcon.ico",
    iconUrl: "https://github.com/jahnen/nhyris/raw/main/template/assets/icon.ico",
},
Installer Icon Not Displaying
The setupIcon is used as the installer icon, but due to caching issues, it may not appear immediately.
You can check the icon in the file properties or after rebooting your PC.
See the related issue for more details.
iconUrl
When using iconUrl, you must provide a URL from the web (not a local file path).
This is an Electron policy and cannot be changed by nhyris.
Creating ICO Files
Simply renaming a file to .ico may not work properly.
To convert a PNG to ICO, it is recommended to use an online converter such as icoconverter.com.
deb
nhyris supports building .deb installers for Debian-based Linux distributions using Electron Forge’s deb maker.
Prerequisites
To build a .deb package, you need to have dpkg and fakeroot installed on your system.
You can install them with:
sudo apt-get update
sudo apt-get install dpkg fakeroot
Configuration Options
By default, no extra options are specified for the deb maker in nhyris.
If you need to customize the build (e.g., set maintainer, description, categories, etc.), refer to the available options in the Electron Forge deb maker config documentation.
Uninstalling the Application
To uninstall your .deb application, use one of the following commands:
sudo apt remove myapp
# or, to remove configuration files as well:
sudo apt purge myapp
Made by jahnen